Thursday, November 30, 2017

Panel Progress

The last of the new pushbutton panels has been installed, or at least those that are in the railroad room. Both the west end and east end staging panels, which are out in the crew lounge, will be replaced at some point. But for now, I'm declaring victory!

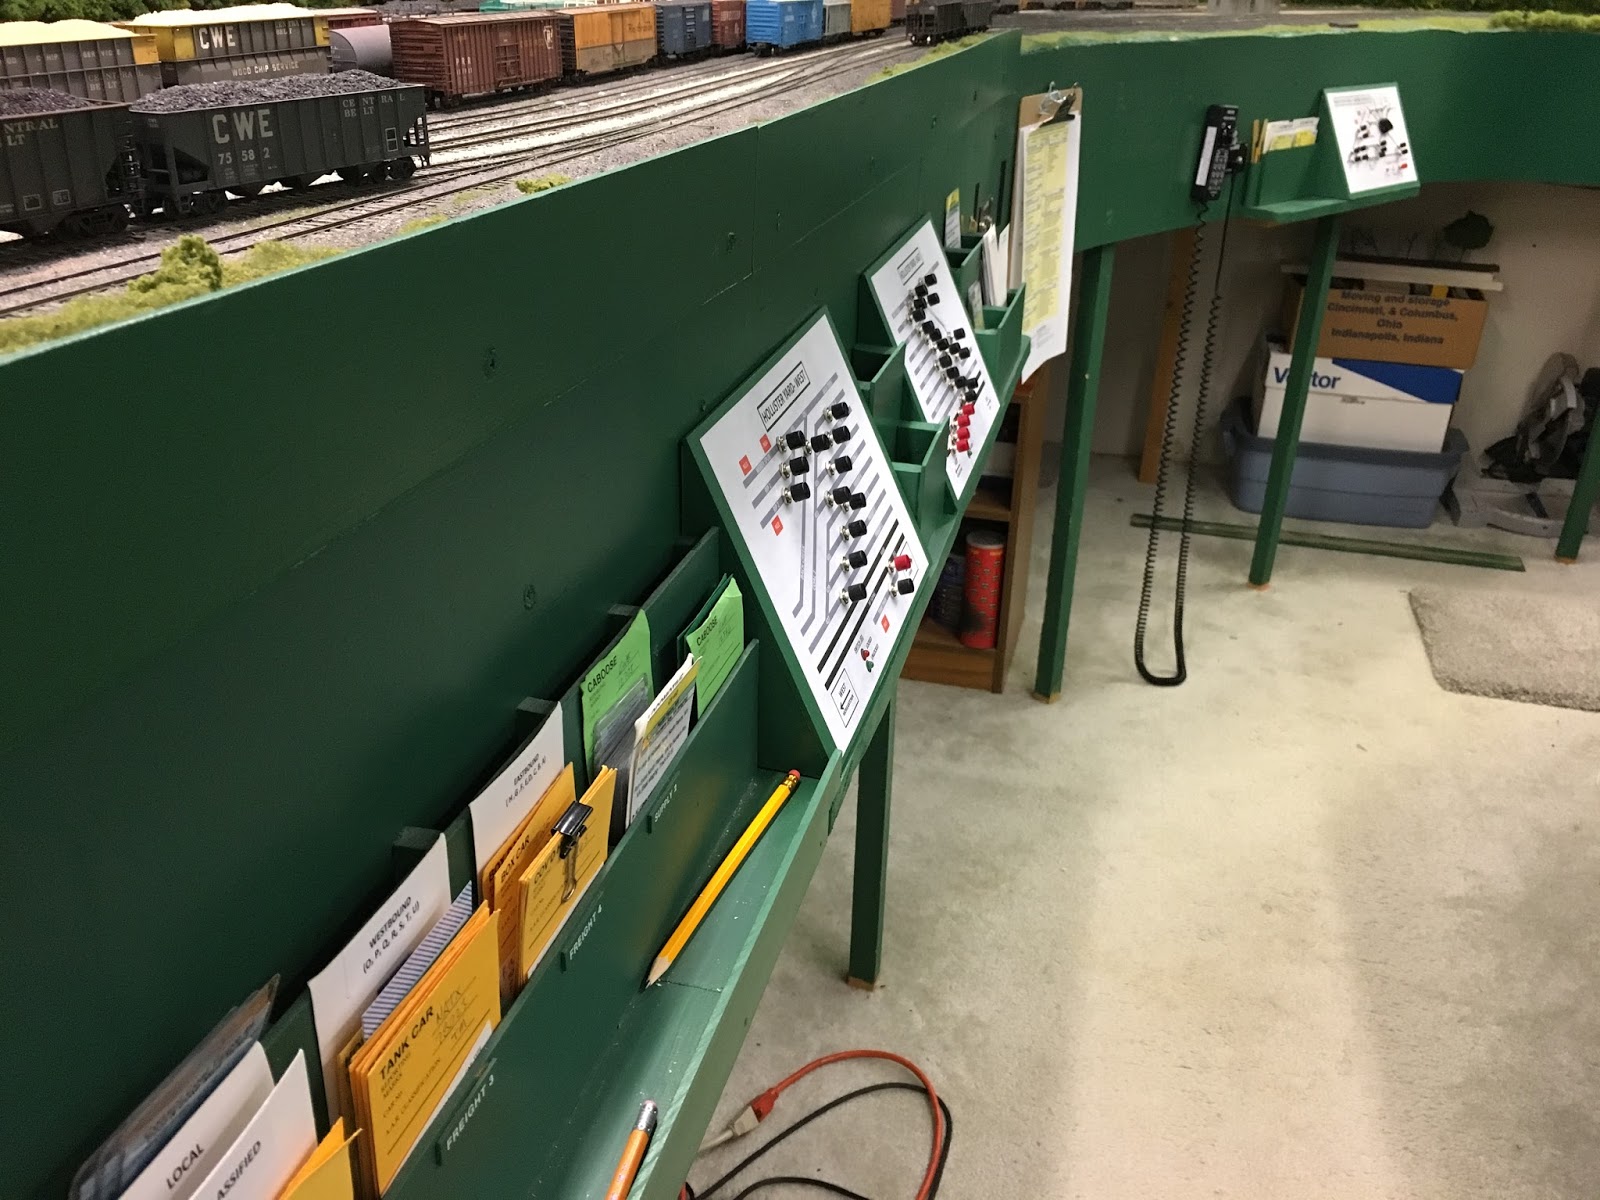
The photo below shows the new panels at Hollister Yard in North Pierce.


Replacing the old panel was a bit of work as three new RCS cards needed to be installed and wired. Additionally, electronic DPDT switches had to be installed to route power to the frogs as most of the turnouts in the yard are still controlled by Hankscraft motors. But it was worth the effort- compare the photo below of the old panel with the one above.


The new panels are significantly smaller than the old one which allowed me to cut back the shelf. This in turn provided a little more room in the aisle in this area. The difference is evident in the photo below.


And while all of this was underway, I took some time to do some additional scenery work. The photo below shows the west end of the Nelsonville engine terminal with the ballast work completed and some additional details added.


And the biggest scenery project- completion of the ballasting in the engine terminal at North Pierce- can be seen in the photo below.


There will be a separate post on the work that's been done here, but for now, its back to weathering some freight cars and finishing another GP9. And finishing up the last op session. And weathering and installing the chain link fence at Brewer Coat in Big Chimney. And...

Sunday, November 5, 2017

Wheels of Time Lumber Load- Part 3

More progress has been made on the Wheels of Time lumber loads. After the Rust-Oleum paint that was applied in Part 2 had dried (see this post for more info: https://cwerailroad.blogspot.com/2017/10/wheels-of-time-lumber-load-part-2.html), I applied Dullcote to all of the loads. Once the Dullcote was good and dry, it was time to weather the loads. I used a wash of tube acrylic ivory black with a small amount of burnt umber added. The idea was to tone down the paint slightly and add some depth. I had also hoped the wash would help show some of the grain in the wood. Here's a photo of the completed loads.


The photo below shows a comparison between the weathered portion of the load and the original paint. It also shows how I cheated and weathered only those areas that would show.


The next step was to add color to the ends of the stacks. I used Americana Tuscan Red acrylic craft paint and here's the bottle.


I dipped the end of a small brush into the paint until I had just a little bit of paint on the very end of the bristles. I then wiped the brush on a paper towel before drybrusing the ends. Once the ends were finished, I lightly drybrushed the sides and tops to represent overspray.

Next up, it's time to start final assemble! Stay tuned.